Blog
Making a Vessel
19/09/2018
In this section I will show you some of the processes involved in making a tall dropout vessel
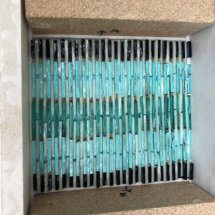
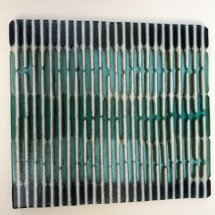
Initially I make a blank pattern with designs on one side with clear glass between and then a further design on the top. The final blank that will be full fused can be between 9 - 12 mm thick. In this example I cut one of the sides using coloured strips following ideas from the wonderful Vitrum eBook called ' Filling the Void " The first image shows this blank already prepared with surrounding blocks to support the shape before it is fused in the kiln
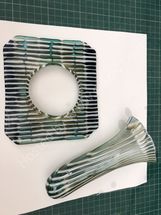
The next images shows this pattern once it is fused
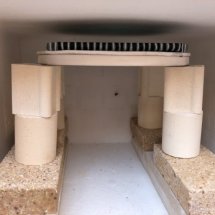
I prepare a circular drop-out with fibre paper cut to its shape next and put this on top. After I have then added extra glass layers to this to make up at least between 9 - 12 mm of glass with each of the corners cut off and fused, this blank piece is then placed over the prepared circular drop-out ring. Depending on what height I want the vessel to drop through the hole, I stack up kiln furniture leaving enough room to put the prepared glass and drop-out ring on top. I use a spirit level to ensure that all is flat. My kiln has side elements and so the prepared work can be placed close to the top of the kiln
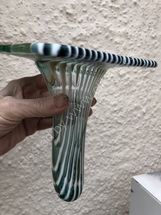
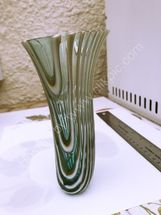
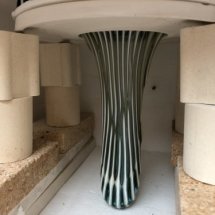
The fusing schedule for this is quite detailed with a section where at some point I have to keep opening the kiln door continually to watch the vessel as it is drops. This is to ensure that it does not drop too fast as it reaches the bottom of the kiln and form an undesired flat enlarged base. After flash cooling the kiln so that the glass will not drop any more, I then leave the kiln to process through the final ramps and schedule. This image shows the vessel after it has cooled
The cold working involved in producing the completed vessel initially means removing the top. In this case I was able to successfully remove this using a glass cutter and hammer before finally grinding and polishing the base and the top.